FreeTrack Forum
FreeTrack Forum > FreeTrack : English Forum > Support : Tracking System > Your point model constructions
| MajMata | #166 17/06/2011 - 04h50 |
|
Class : Apprenti Off line |
Thanks
so 3 points is much better. |
| jangeisler | #167 17/06/2011 - 08h48 |
|
Class : Apprenti Off line |
Much better :-)
Preferably IR leds, tutorial regarding which parts to use is in a sticky thread here. I'm planning on modding a CatEye rear bike light myself. This will give me 3 red LEDs instead, which should be okay. Youtube tutorial HERE I'm unsure if I can mod this bike light later, by changing the red leds to ir leds, anyone know this?
Edited by jangeisler on 17/06/2011 at 08h49.
|
| GreenWarfare | #168 07/07/2011 - 07h39 |
|
Class : Apprenti Off line |
Hi guys,
just stumbled across FreeTrack yesterday and I'm really intrigued of this idea. My plan is to build a 3 point clip with external power source (so that my headset does not get too heavy), actually I had something in mind like in post #164 by Dwit. Just one question though: What do you recommend as a mount for the whole thing? I thought about card tube (looks crappy), just some wire (might be too flexible?), tubing (more complicated to assemble with the LEDs all pointing into the same direction). Glad to hear from you! |
| Steph | #169 08/07/2011 - 08h14 |
|
Class : Moderator Off line |
Hi, GreenWarfare
take a look at my Freetrack experiences here. I like to use semi-rigid polyurethan tube Ø6mm for air compressor that can easily be heat-formed. And connectors for stuntkites (also heat-formed). Also it seems that clips from coat hangers are very popular to fix the mount.  The best way to fix the whole is a hot glue gun, so that it can be adjust perfectly.
Edited by Steph on 01/06/2012 at 10h52.
|
| caothuvolam | #170 10/08/2011 - 16h50 |
|
Class : Apprenti Off line |
I have mine one
 3 red LEDs, 5mm, 5volt each. 1 power socket obtained from a dead mp3 player. 1 power plug from a dead headphone.  1 power switch from a dead something...  1 usb charger. 1 usb cord. 3 150 ohm resistor. So, here is there resurrection!    
Edited by caothuvolam on 10/08/2011 at 16h59.
|
| mauroma | #171 15/09/2011 - 14h01 |
|
Class : Apprenti Off line |
This is my point:
I used a 9v battery and Wiimote. 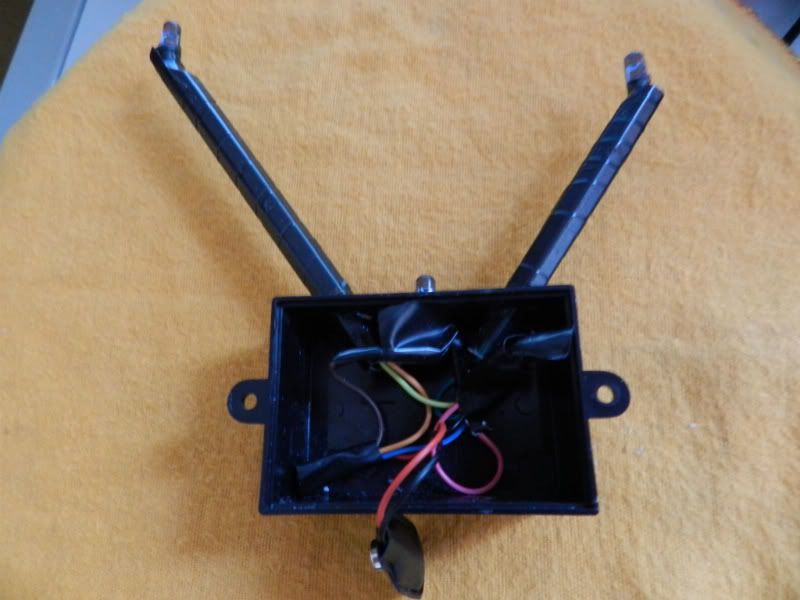  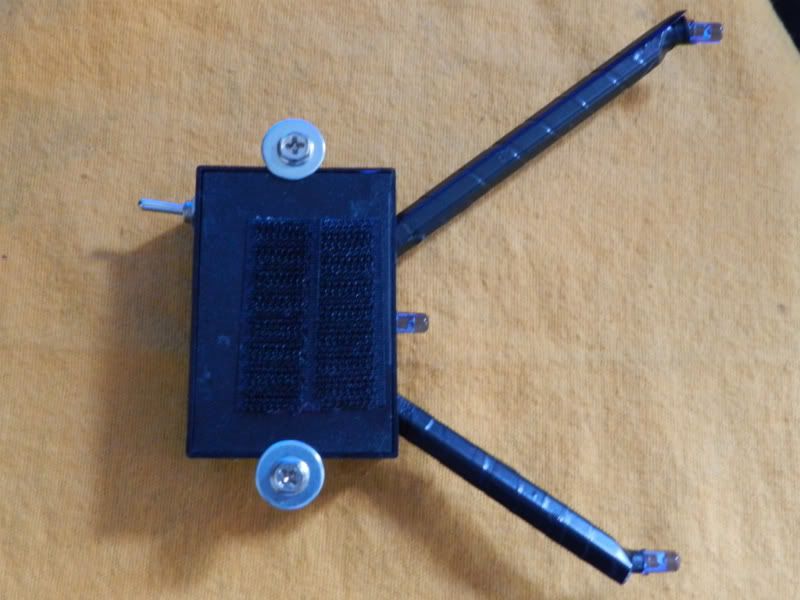 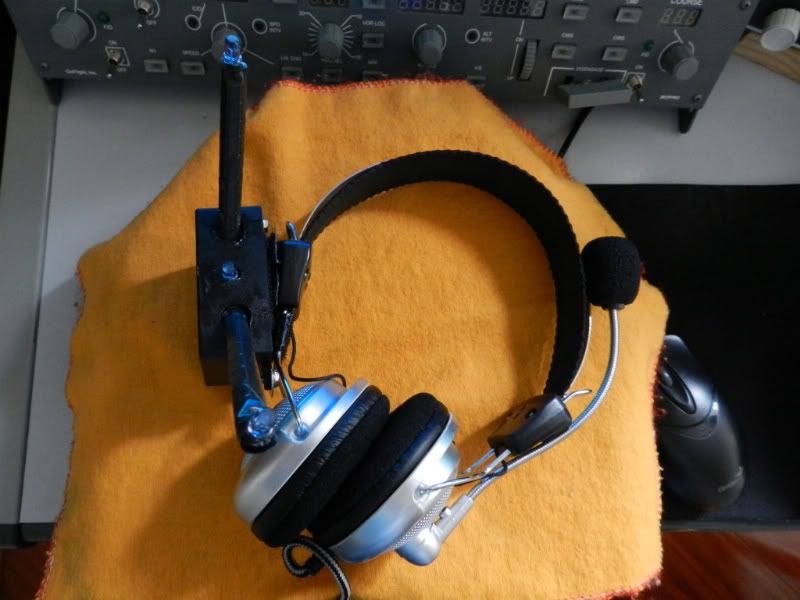 |
| anlq | #172 17/10/2011 - 08h44 |
|
Class : Apprenti Off line |
This is my model with 4 leds. It's working great with every game/sim.
I know it's ugly but as someone said it wasn't made to be pretty  . .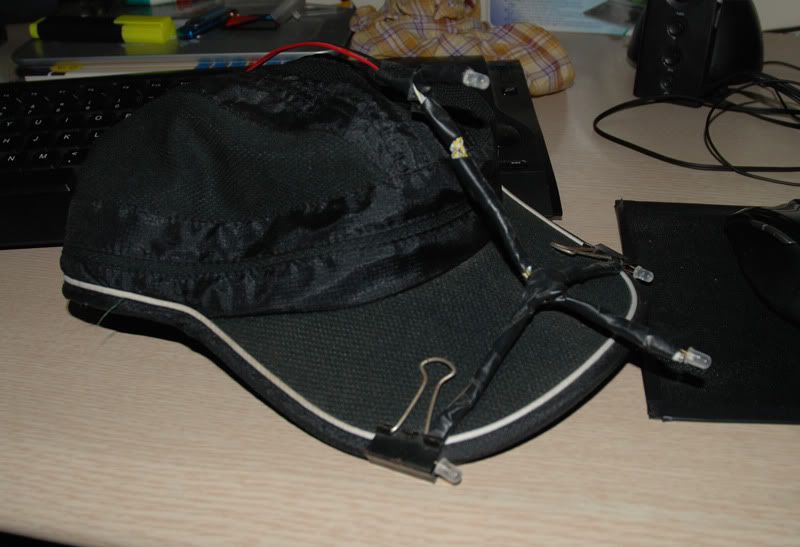  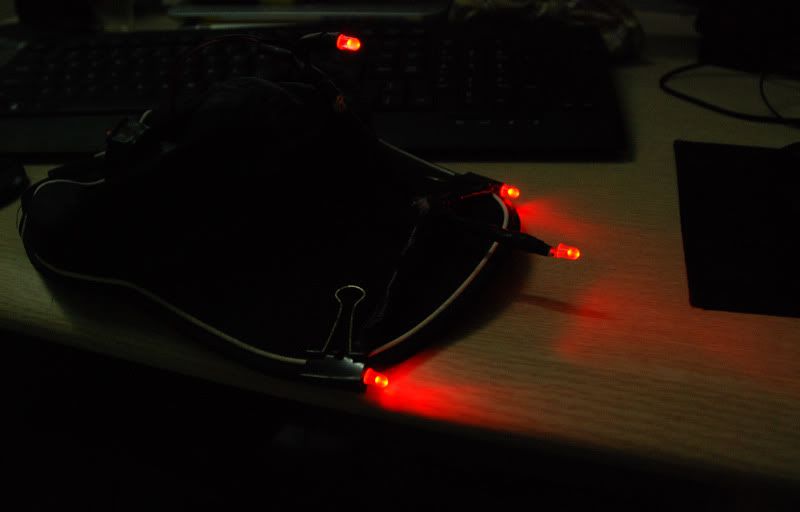 |
| Dwit | #173 22/10/2011 - 22h05 |
|
Class : Apprenti Off line |
I used no very flexible wire and thermo tube for diod fixation, no any problems. |
| Blindasabat | #174 02/11/2011 - 15h14 |
|
Class : Habitué Off line |
Now I finally have a digital camera I can post some pictures of my point models.
First my cap.   This is my second build of this cap. I used a wirehanger for the point model. I moved it also more forward so the upper LED would still be picked up when I tilt my head in Y axis. I also used velcrotape which I sew onto the cap to hold the wiring and batteryholders into place, so I can disassemble it completely when I want to wash it. And I also made a provision to plug in a poweradapter when I'm short on batteries. Because I couldn't find any good switches I use a piece of wood (from a clothespin) to switch it off. My clip.   This is still a prototype. I used the same plantsupport Ben Meijer used (got them from the local gardencenter). As you can see I used a lot of insulationtape. I modified a wooden clothespin to clip it to my headset, which works for the moment but it isn't ideal (it's a bit loose). It does have the advantage of having the model more forward for X axis movement, it picks it up very well. I ditched the idea of using USB to power it as I couldn't find PTC's to protect my motherboard (and I don't want to risk it anyway anymore) and also because I still had a universal poweradapter laying around. My IR cam.  After I demolished my PS3 eye trying to remove the IR filter, I settled for the XBox live vision camera. And I must say it is very good, has a good field of vision and good fps. And the IR filter is easy to remove with the help of a good guide. XBox Live Vision Camera IR filter removal guide
Edited by Blindasabat on 02/11/2011 at 16h24.
|
| A-n-d-r-e-y | #175 15/11/2011 - 06h39 |
|
Class : Apprenti Off line |
My Free Track model
- IR diods - AL107B (1.8 V, 100 mA) x3 - resistors - 30 Ohms x2 - Batteries - 9 V       Sorry for my funny English
Edited by A-n-d-r-e-y on 15/11/2011 at 06h43.
|
| LittleCannon | #176 29/11/2011 - 20h49 |
|
Class : Apprenti Off line |
My Freetrack 3 point clip:
Standard IR LEDs for remote control 100 ohm resistors Power through USB    |
| Devrim | #177 04/12/2011 - 03h02 |
|
Class : Apprenti Off line |
Hi friends.
I made two different models last week and tonight. I think no need to explain detail or equipment. 1) 4-LED Point Model: Used white LEDs. And used "5V cellphone adaptor" for power supply. Profile construction:       With Logictech C270 webcam and film, it works perfect (of course after adjusting brightness, contrast and treshold). And tonight, I decided to make; 2) 3-LED Point Model: Used red LEDs(!), a switch, and 9V battery for power supply. First of all according to instructions, I did draw that sketch on a paperboard (it was a cover of a phone numbers book) and cut it off...          As you see, this is a serial connection. So, only one resistance was used (I think it was 150 Ohm). I tried red LEDs in this model. They require less power than white LEDs. At first, I doubted that if webcam could see red colour properly through the dark film. My FreeTrack settings were according to 4-WLED model. Without any changes, I clicked the Start button and surprized! It works succesfully and there's no different from white model. Two benefits: 1) In this this model, 3 red LEDs consume only 20mA (it's great for me and 9V battery - for long lifetime). 2) Previous model (4-WLED) was illuminating my cockpit exceedingly. Red light is more comfortable. Thank you. |
| Devrim | #178 20/12/2011 - 22h09 |
|
Class : Apprenti Off line |
Hi.
And this is my last 3-LED model. In my language, there's an expression like, "You don't need to discover America again." It means, "Don't waste your time, just follow experiences."But, I think I discovered somewhere again... I mean, I made 4-LED model and I realized that sometimes, when I turned my head right or left, center LED and side LEDs was seen as "1" LED by camera. And this occures problem. Later, I made 3-LED Clips model. But I missed that I'm a person who using eyeglasses. So, when I turn my head to right, some reflections and glares (from glass or its metal parts) was capturing by camera. And this occures problem. Finally, I made 3-LED Cap model. That's it. "I discovered the cap model." :))) Here the photos: I planned the profile and cut it off.  I made a cut on lower part. And glued & inserted the upper part into it.  I added L-shape plastic (orange) piece (to stick it on top of headphones). All wired and added a switch.   Covered with hot plastic thing and covered profile with tape.  Connected to battery (9V).  Mounted on the headphones.  Thank you.
Edited by Devrim on 20/12/2011 at 22h15.
|
| Nightsd01 | #179 24/12/2011 - 06h29 |
|
Class : Apprenti Off line |
Nice models guys!!! (:
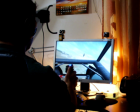
Here's mine. I used three IR LED's (1.2v, 100mA), connected to a 9v battery (so it will last a long time hopefully!) hidden inside of the cap. I also added a pressure-sensitive switch (cost under $2.00 to construct with a little switch at Radio Shack). Finally, I just finished adding a small green LED, so that I can tell when it is turned on or not without having to look through my camera. I used a series of four resistors instead of a single one, because using a single resistor gave out too much heat, and I found that dividing the resistor value by four did the trick. Over all, I'm very happy with the result! I tried to make the wires hard to see to someone looking at me wearing it so I don't look like a complete dork (: Here's the blueprints of the basic layout. 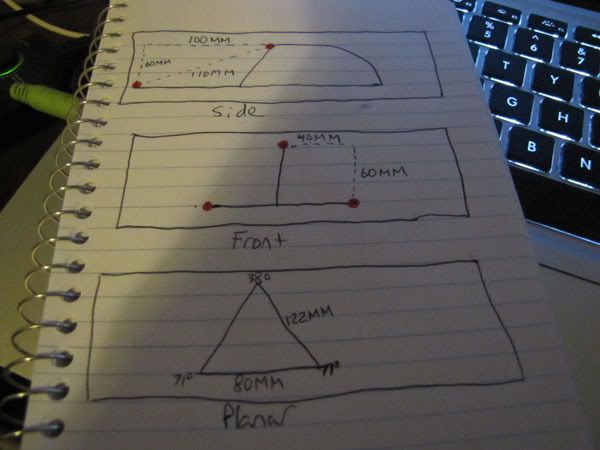 Here's the hat itself. Notice the lack of ugly wires on the outside!  Here is the inside of the hat. My thumb is on the pressure-switch, which gives power to the LED's when I put the hat on. You can also see the green LED, which lets me know that the hat is turned on. The IR-modified webcam that I use cannot detect the green light. 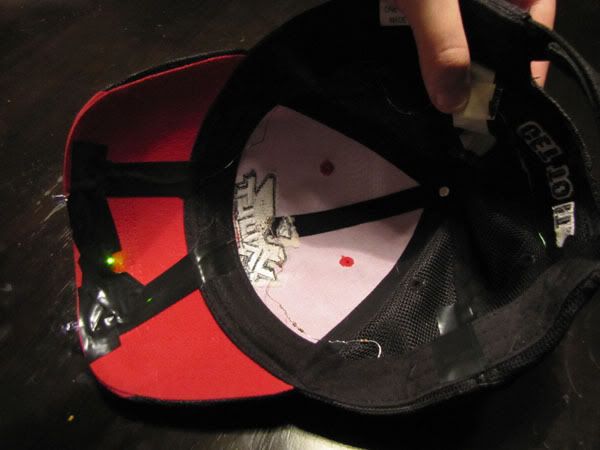 Here is the hat when it is active. Interestingly the iSight camera on my MacBook Pro can detect the IR LED's (a bit anyways). Note: for those of you that haven't read the whole post, the green light isn't detected by my free-track dedicated webcam, and is just an indicator light for me. 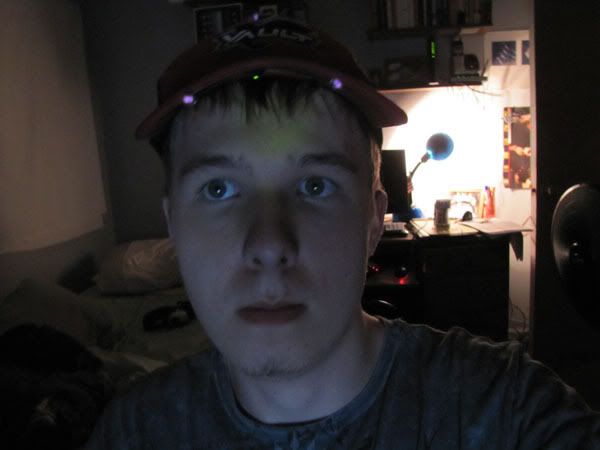 Time to fly!!! (: 
Edited by Nightsd01 on 24/12/2011 at 06h42.
|
| vagos2511 | #180 27/01/2012 - 19h41 |
|
Class : Apprenti Off line Www |
  
Edited by vagos2511 on 28/01/2012 at 02h15.
|


FreeTrack Forum > FreeTrack : English Forum > Support : Tracking System > Your point model constructions
> Stats
1 user(s) connected during the last 10 minutes (0 member(s) and 1 guest(s)).
Powered by Connectix Boards 0.8.4 © 2005-2024 (8 queries, 0.028 sec)